
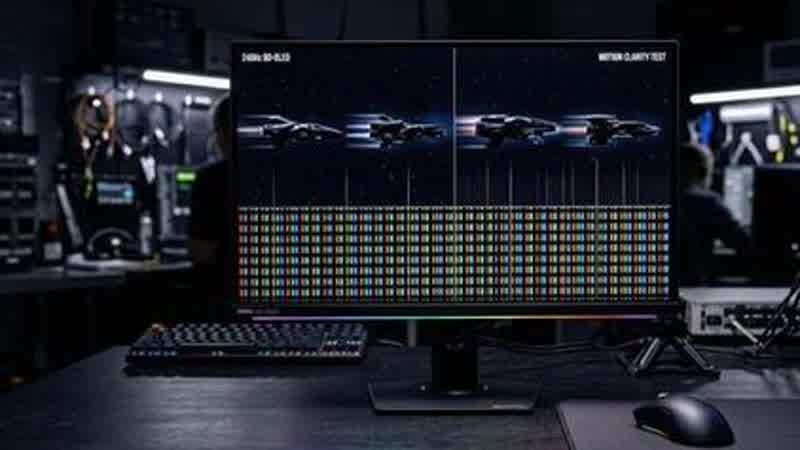
Even experienced PC builders and console enthusiasts frequently plug in a high-refresh monitor or 4K 120Hz television and leave critical display pipeline settings at factory defaults. Because HDMI and DisplayPort handshakes default to safe compatibility profiles, misconfigured dynamic range, overdrive, or Variable Refresh Rate (VRR) ceilings can silently introduce washed-out blacks, inverse ghosting coronas, or sudden V-Sync input lag spikes.
Here are the 10 verified display calibration adjustments you should audit on any gaming setup.
Title: Quick-Reference VRR & Frame Cap Formula
Badge: Calibration Formula
- Optimal VRR Ceiling Equation: `Max Refresh Rate - (Max Refresh Rate × Max Refresh Rate ÷ 3600)`
- 120Hz Display Target Cap: 116 FPS
- 144Hz Display Target Cap: 138 FPS
- 240Hz Display Target Cap: 224 FPS (Automatically enforced when enabling NVIDIA Reflex + G-Sync + Driver V-Sync).
1. Lock Output Dynamic Range to Full RGB (0–255)
When connecting via HDMI, GPU drivers sometimes misidentify a PC monitor as a legacy video television and default to Limited RGB (16–235). This crushes pure black (`0`) into dark grey (`16`) and clips peak white (`255`) at `235`. Open NVIDIA Control Panel, AMD Adrenalin, or your console video menu and verify Full RGB (0–255) (or 10-bit YCbCr 4:4:4) matches your monitor's OSD Black Level setting.
2. Enable HGIG Before Running Console or Windows 11 HDR Calibration
By default, many TVs enable "Dynamic Tone Mapping" (DTM), which brightens mid-tones and overrides the game engine's own HDR luminance curve—causing blown-out clouds and loss of specular highlight detail. Switch your display to HGIG (HDR Gaming Interest Group) mode first, then run the PlayStation 5, Xbox Series X, or Windows 11 HDR Calibration App to set your panel's true peak nit clipping point (e.g. 800 nits or 1,000 nits).
3. Combine G-Sync / FreeSync + Driver V-Sync ON + Frame Rate Cap
A common misconception is that V-Sync should always be disabled when using G-Sync or FreeSync. In reality, VRR only operates below your monitor's maximum refresh rate. If a frame renders faster than your refresh interval, the bottom of the frame tears. Enabling G-Sync/FreeSync + Driver V-Sync ON + an in-game/Reflex Frame Cap 3% to 6% below max refresh keeps you permanently inside the tear-free, low-latency VRR window without ever hitting the V-Sync buffer ceiling.
4. Set LCD Overdrive to "Medium/Fast" — Never "Extreme/Fastest"
On IPS and VA LCD panels, the highest overdrive setting ("Extreme" or "Faster") applies excessive voltage overshoot to liquid crystals, producing bright inverted halos (inverse ghosting / coronas) behind moving objects. Use the second-highest ("Fast" or "Normal") setting for clean transitions across 60Hz–165Hz VRR swings.
5. Disable Windows 11 Auto Color Management (ACM) for Native SDR/HDR Switching
In Windows 11 24H2+, "Automatically manage color for apps" clamps SDR apps to sRGB in software, which can conflict with hardware factory sRGB modes or ICC profiles. Turn ACM off if your monitor already features a hardware-calibrated sRGB clamp in its OSD.